
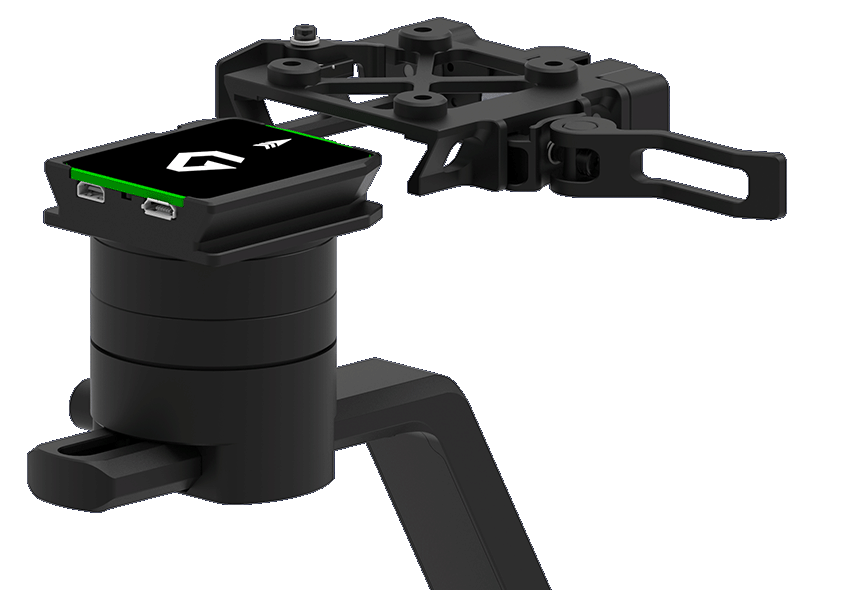
Gremsy T3 PE Gimbal
This page provides instructions for installing and configuring a Gremsy T3 PE Gimbal with PRISM Sky.

Supported Hardware:
Equipment you will need:
PRISM Sky aircraft
Watts T3 PE Data and Power Cable
Sony A7RIV
Tools you will need:
Installation
Assemble the T3 PE Gimbal and Dampening system following the instructions provided by Gremsy.

Once the T3 PE Gimbal and Dampening system are assembled ensure the appropriate settings are configured on the Sony A7RIV
PC Remote = ON
PC Remote Cnct Method = USB),
Install the Gremsy T3 PE Dampening system following the instructions from Installing & Removing Payloads onto the bottom 12mm rail system.

Connect the Watts T3 PE Data and Power Cable connectors to the Rear Power Panel. Thread both connectors until both are fully tightened and secured to the Rear Power Panel.

Remove and attach the quick release mounting plate included in the T3 PE Bundle for Sony A7RIV / Skynode to the bottom of the Sony A7RIV.

Slide the Sony A7RIV into the mounting slot on the bottom of the T3 PE Gimbal leaving enough room to install the top hot shoe mount.

Install the top hot shoe mount and hand tighten.

Slide the T3 PE Gimbal into the Standard Dovetail Release on the T3 PE Dampening system until you hear it click into place. Close the safety lever to hold the T3 PE Gimbal to the T3 PE Dampening system.
Using the adjustment screws, balance the Sony A7RIV on the 3-axis T3 PE Gimbal until the Sony A7RIV can stay level on its own.

Connect the T3 PE Control Cable for Sony A7RIV to the T3 PE Gimbal and Sony camera shown in the image below.

Remove the camera lens and power on the Sony A7RIV.

Power on PRISM Sky and the Ground Control Station (GCS), open Watts AMC and connect to the vehicle.
For information related to fine tuning, troubleshooting or updating firmware please reference Gremsy Product Support | Gremsy T3PE for Skynode.
Last updated